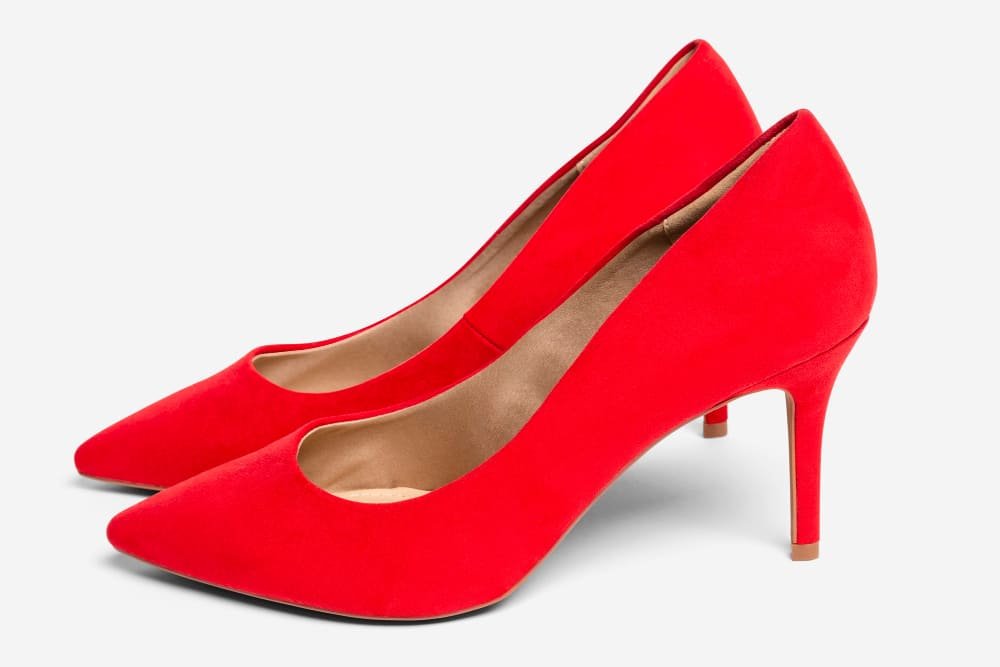
![Shoe Photography Guide [ Full Step by Step ]](https://e-com.photos/wp-content/uploads/2024/07/shoe-wearing-demonstration.jpg)

Tips for Taking Professional Product Photos for an Online Store
When it comes to taking professional product photos, having the right photography knowledge is important. It’s the first step of commercial photography to showcase your business in the online world.
From billboards to catalogs, everywhere you need your product photos. And without professional photography, you can’t advertise your product properly.
Customers always like to e-visualize the photos first before making any buying decision. High-quality photos help you entice your customers to make the right decision.
If you’re just starting a product business in the online world, investing in professional photography can be a wise decision. Here are some awesome tips to uplift your photography skills.
Here we are revealing all the photography tips and tricks to get you started with high-quality product photos. So you can easily do product photography without having any other external help.
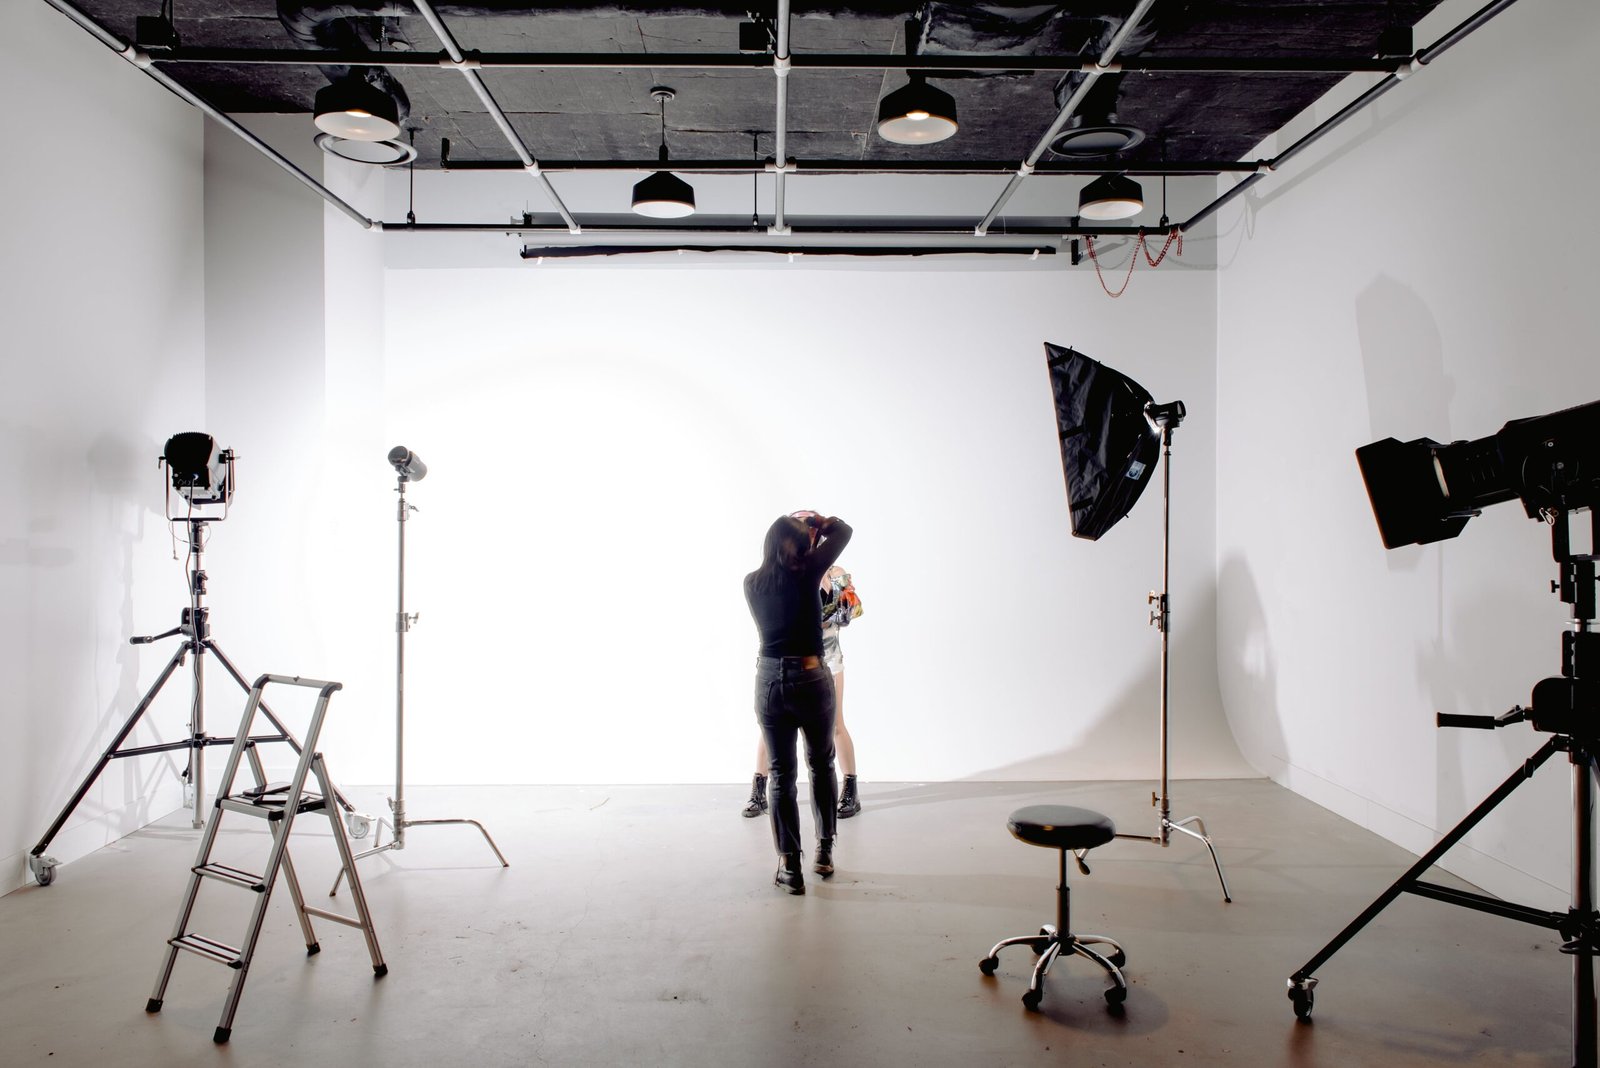
Get the Right Equipment for Product Photography
To get started with product photography, you need the right photography equipment. High-quality camera equipment helps you shoot and produce the best images. You can even start with your smartphone first. But for professional results, you need the right equipment.
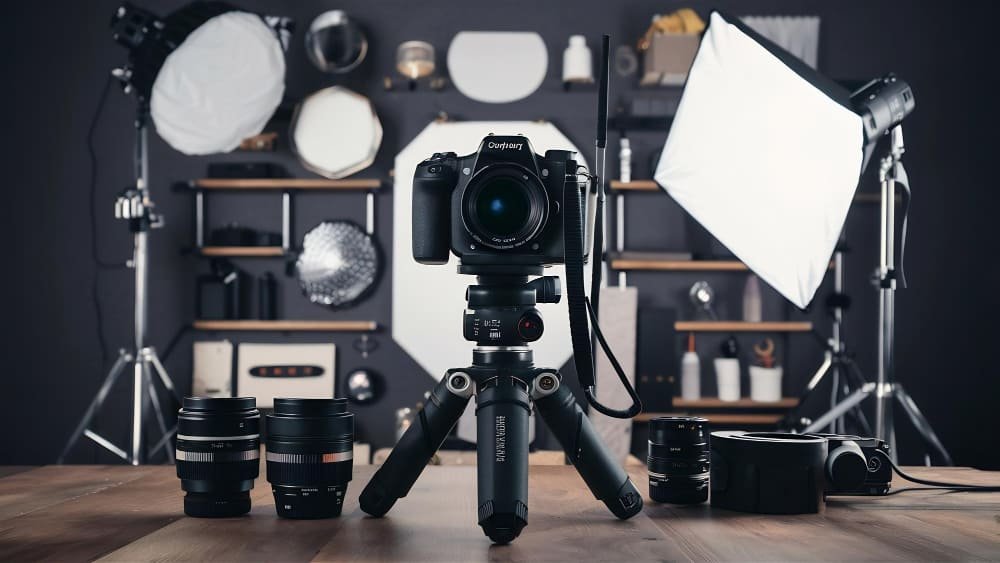
Getting all the right product photography equipment is the first step. Here’s what you need to get started:
- Camera
- Tripod
- Solid Color Background
- Softbox with Light
- Table
Once you have all the necessary equipment, you can use it to enhance your photography setup.
Types of Product Photography
When planning your first product photography, you need to know what type of photography is suitable for your brand. Gaining inspiration from similar niches or even from your competitors can give you valuable insights.
For example, if your online business is about jewelry, you can study high-end jewelry brands’ product photos to get inspiration. Learn the approach they take to photograph their products, whether it’s from a luxury side, elegance, or uniqueness they focus on in their photography.
Each type of photography serves a different purpose.
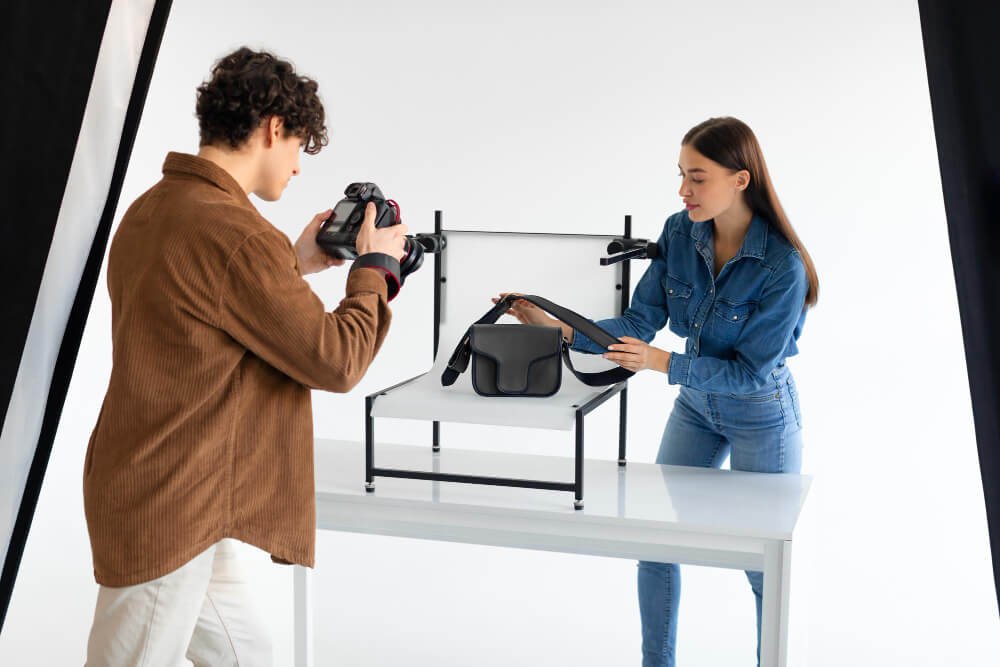
Single Product Shots:
These photography types highlight individual products. They showcase all the features, designs, and works of the products. Such photography type works well for accessory brands.
For example, if you’re selling luxury watches, you can take close-up shots to showcase the intricate dial design and materials of the watch through the photographs.

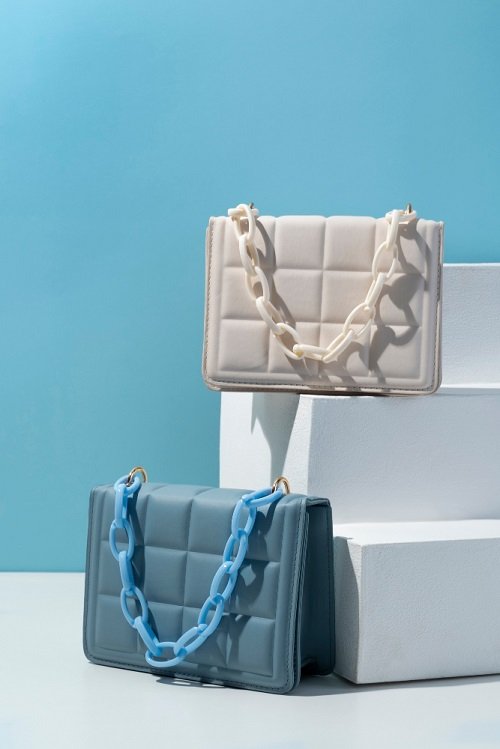
Group Shots:
Such shots feature multiple products in a single frame. They mainly showcase all the complementary items in a group shot that the consumer can purchase together.
For example, if you’re selling skincare products, in a single shot, you can showcase all the skincare regimes, such as cleanser, toner, serum, and moisturizer.

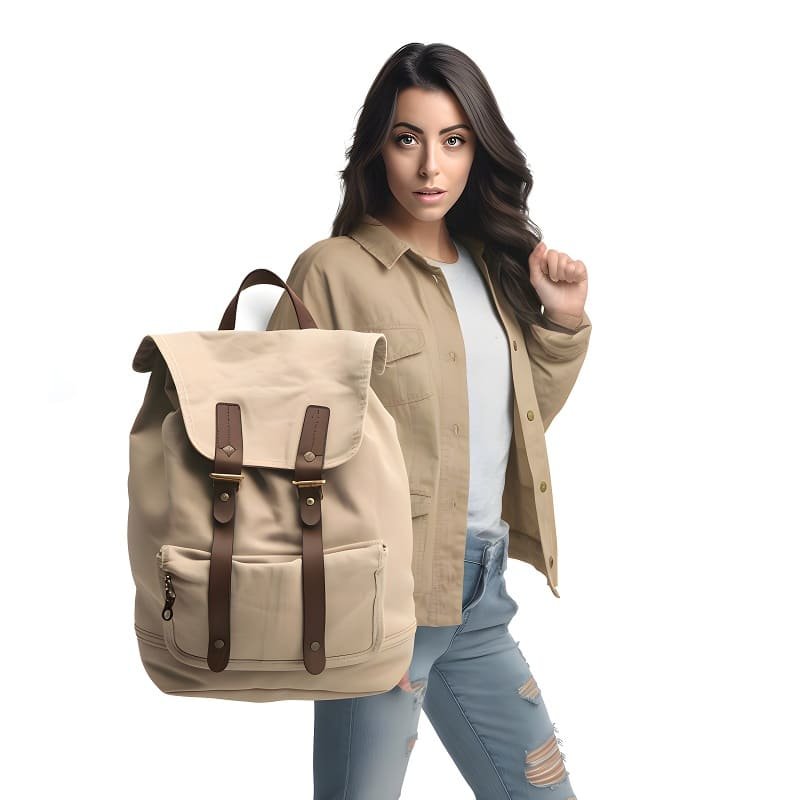
Lifestyle Shots:
Lifestyle photo shoots depict real-life scenarios.
For example, if you’re selling travel bags, you can create scenarios of travelers wearing them to exotic destinations. With such shots, consumers also feel adventurous and will be convinced to buy products from you.

Scale Shots:
This shot highlights the product’s size, dimension, and scales.
For example, if you’re showing a single shot of a suitcase, you can include a scale or person beside the suitcase to demonstrate its size. It helps customers understand the scale of the suitcase.
Detailed Shots:
Detailed shots highlighted the textures and specific aspects of the product. Seeing such product photoshoots, customers can easily judge the quality and craftsmanship.
For example, for a leather wallet, you can utilize such shots to focus on the stitching, grain, embossing, and logo of the product.

Packaging Shots:
Packaging shots, highlighting the design, branding, and presentation of your product.
For example, to do a photoshoot for luxury skincare items, you can utilize this photoshoot to highlight the details and sophistication of the branding. You can communicate the message of luxury and reliability to the customers through this type of photo.

Tips for Taking Professional Product Photos for an Online Store
Visual presentation can make all the difference to your online business if you know all the right ways. In today’s competitive marketplace, product photography is not a luxury. It’s the gap between increased sales and missed opportunities.
From understanding the product photography process to mastering all the right angles, here we cover everything to take your photography skills to the next level.

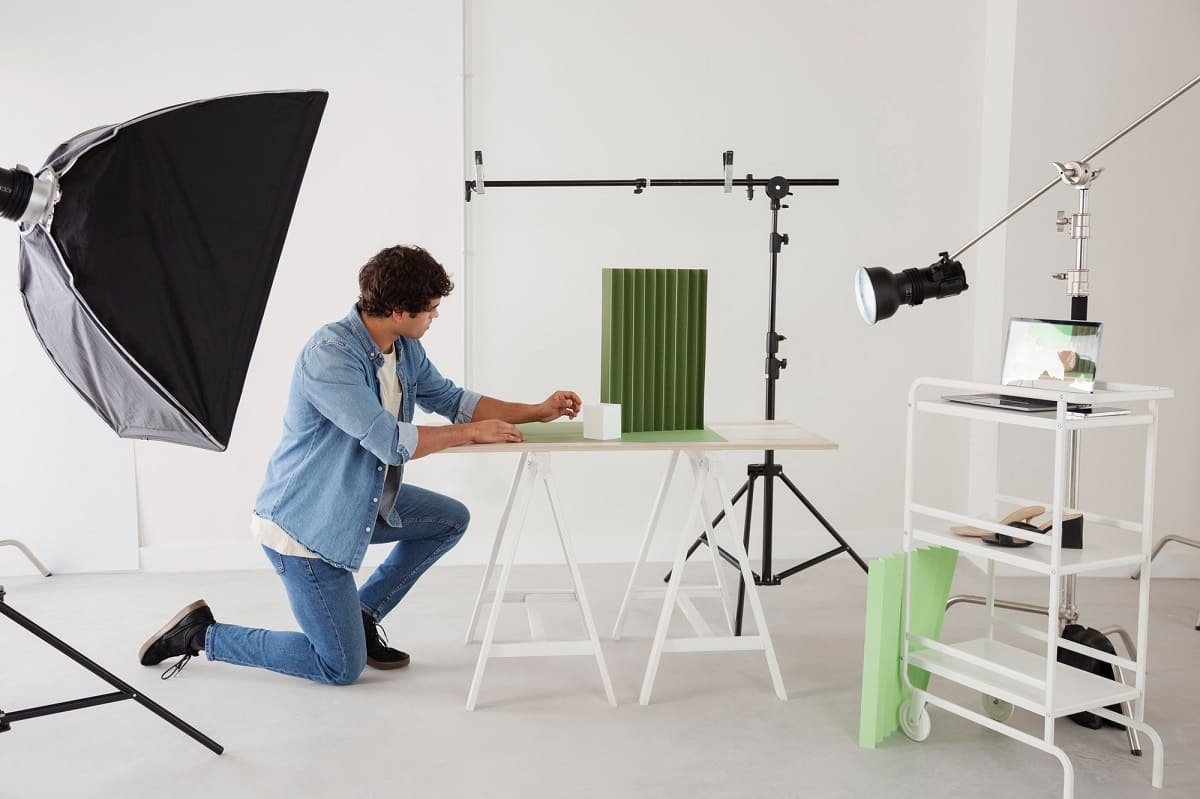
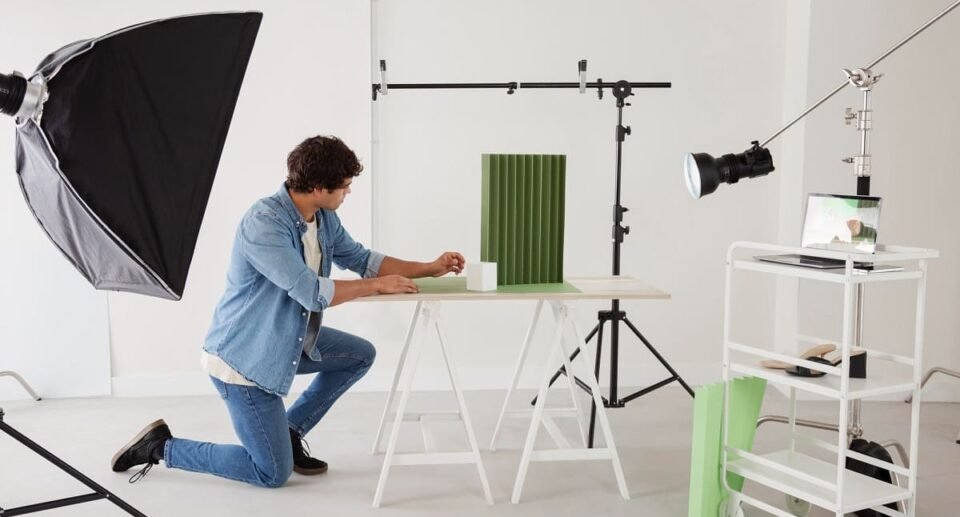
Tips 1: Take Preparation to Take Professional Product Photos
Taking professional product photos involves several steps. Following all these steps can result in high-quality shots of your products. Here’s a simplified version for you:
- Set the background
Opt for a clean, clutter-free background that complements your overall product photoshoot. Here, consider using paper rolls, fabric, or any textured background.
- Use a Mannequin or a Model
Depending on the type of photography you may require a mannequin or model. It showcases how a product fits or looks when used.
- Prepare products
Before starting the photoshoot, make sure the product is well-prepared for the shoot. That means it should be clean, wrinkle-free, with no defects or imperfections.
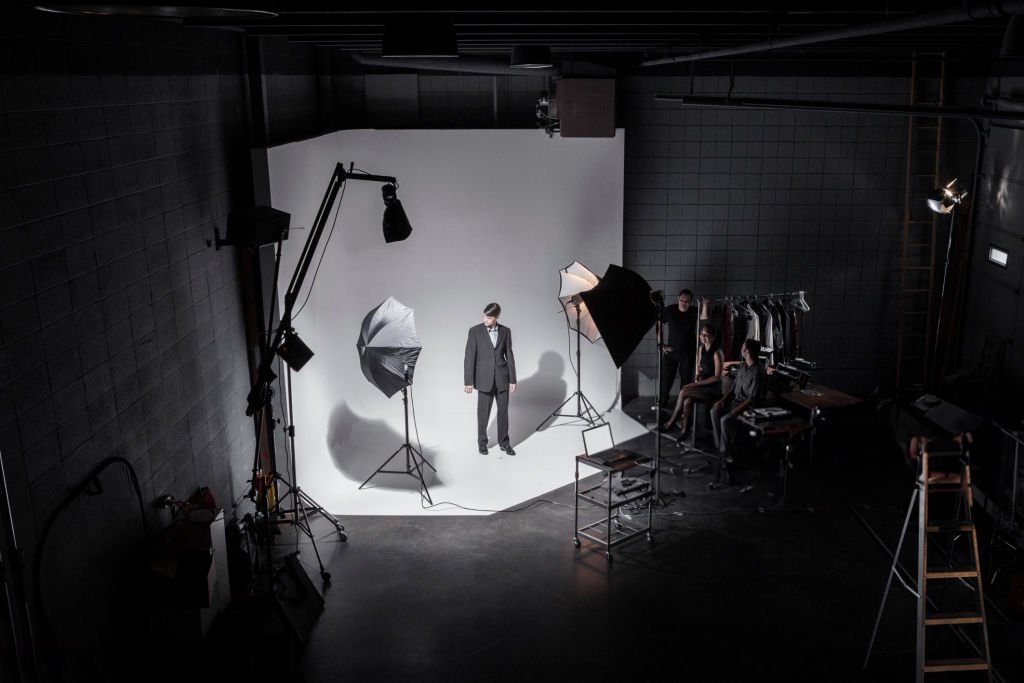
- Adjust light
Experiment with different lighting setups to achieve the desired mood for the photoshoot. Consider using hard or soft light, key light, fill light, or utilize natural lighting sources if available.
- Set up the tripod
Adjust the camera with the right tripod to avoid shaky images. For long-exposure shots, a tripod is a very essential piece of equipment.
- Set up the camera
Adjust the camera by testing out various settings to get the optimal exposure, color accuracy, and high-quality image.
For product photography, go for ISO 100 or 200 to minimize noise and maintain image clarity. The shutter speed should be 1/60 or slower to avoid motion blur.

To adjust the color temperature, use the white balance setting that matches your light source. Most cameras have preset settings such as cloudy, tungsten, fluorescent, or daylight. Alternatively, you can go for a custom white balance option.
Color temperature adjustment helps achieve color rendition and mood for the photos. You can experiment with warmer or cooler lights to find the most flattering tones for your product photos.
Tips 2: Understand Color Theory
Now familiarize yourself with the principles of creating visually attractive photos. Color has a powerful way to translate symbolic meaning. Different colors evoke different moods and emotions.
Some basic examples are: red has connotations of excitement; it signifies danger, love, passion, and warmth, whereas green represents harmony, refreshment, and balance. Use them strategically to convey your brand’s desired message.
Depending on the message you want to convey through your product photos, use colors that are widely acceptable to the audience. Pay attention to contrast, saturation, temperature, and color harmony to enhance your overall product photography.

Tips 3: Understand the Product and its User
Next, you need to do thorough research to understand your target consumers.
You need to understand what your audience thinks and what kind of concept is attractive to them. Using this information, craft images that result in more success.
Here, the important thing is to understand the communication through your composition. That means you need to carefully place your product and frame it in a way that gives a meaningful solution to the product’s consumer. Seeing the image, they can understand the size and actual function of the product.
Tips 4: Take Your Product Photos
Get ready to experiment with different angles and perspectives. It helps to showcase your product from different viewpoints. Don’t forget to take photos of your product from the front, back, high angle, and side angle to give customers a complete view.
Tips 5: Capture Multiple Photo
Take multiple shots if needed. Multiple photos help to capture different aspects of your product. For example, if you’re taking only close-up shots, customers won’t get the full view. Try to incorporate close-up shots with full-length shots to provide context and scale to your photography. Having variation in photos helps customers make more informed decisions.
Tips 6: Emphasize the Details
Highlight the unique features and craftsmanship of your products through photography. Use lighting to accentuate your product’s textures. Different lighting angles create highlights and shadows that help to clearly visualize the craftsmanship of the product.
Use close-up shots to zoom in and clearly highlight the product’s value. Also, pay attention to composition and framing. Maintain consistency in style and editing techniques throughout the images.
Tips 7: Understand and Apply the Rule of Thirds
The rule of thirds in photography is mainly a composition technique. It helps to create a visually appealing and balanced image. Using a grid, you can divide the frame into thirds both vertically and horizontally.
Now, rather than placing the subject at the center of the frame, the rule of thirds suggests placing it at the intersections of two lines.
This off-center placement draws the audience’s attention to the subject first. Also, it allows space for other elements to be in the shot.
Tips 8: Pay Attention to Reflections and Shadows
Position your lighting source strategically to control and minimize reflections and shadows in product photos. You can use diffusers or reflectors here to get soft, even lighting.

Tips 9: Follow the Photography Trends
Stay updated with product photography trends. Nowadays, many commercial photographers incorporate 360-degree photos or short product videos in their photography services.
To create 360-degree photos, you can invest in equipment like a turntable. For product videos, get a stabilizer. Use editing software to stitch multiple shots together to create a short video of your product.
Tips 10: Be Consistent Throughout the Product Brand
Consistency is key in product photography. Make sure you stay consistent with your style, editing, branding, and visual identity across all photos and platforms. That way, your target customer can easily identify you by the images.
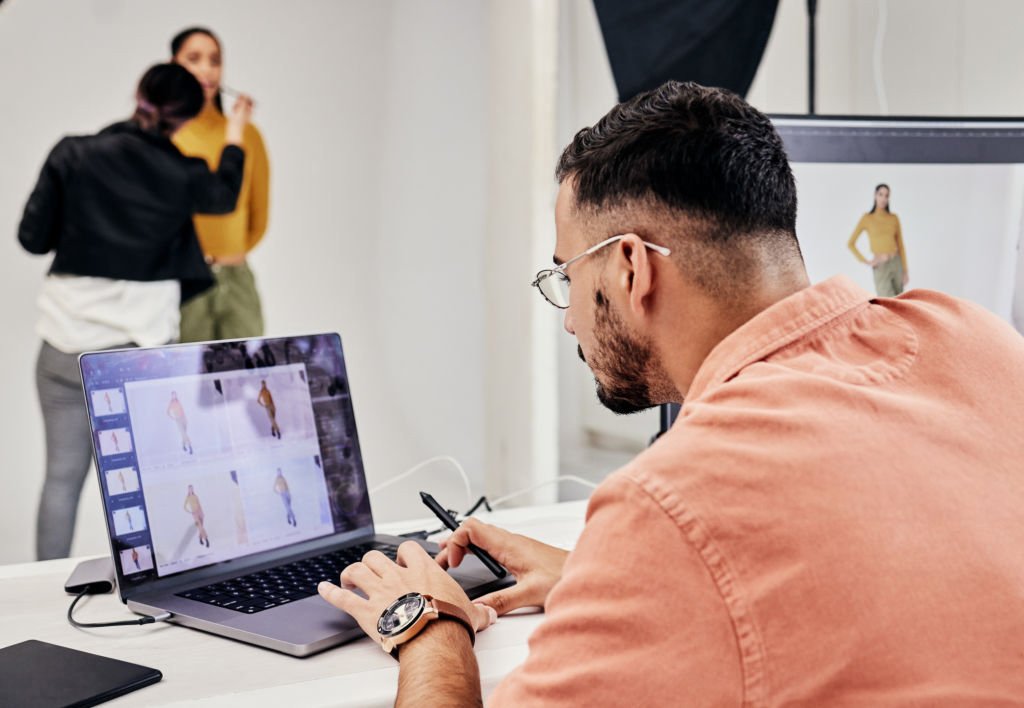
Tips 11: Retouch Images
Cameras can’t capture accurate photos every time. This is where photo retouching comes in to ensure that product photos appear true to life and also add depth. Utilize image editing software to retouch and enhance the photos. Here, you can adjust the brightness and contrast, as well as fine-tune the color balance.
Alternatively, for bulk photo retouching, you can outsource the task to a professional photo retouching service to ensure consistent, high-quality images.
Use AI tools to automate repetitive tasks such as background removal.
Make sure to resize and optimize the images properly so that your website can display them correctly across all devices. Additionally, compress the images to ensure fast loading of the product web page.

Conclusion
Whether you’re launching a new online store or revamping your existing one, product photography is important to attract the right customers. By understanding all the tips, you can achieve your eCommerce photography goals. As you grow confident with your camera skills, don’t be afraid to try out different photography styles as well to get more creative with your product photography.
And the best part of getting good at product photography is it lets you control how your brand looks. So grab your camera, and roll up your sleeves because we have so many product photo shoots to do.