
Shoe Photography Guide [ Full Step by Step ]
![Shoe Photography Guide [ Full Step by Step ]](https://e-com.photos/wp-content/uploads/2024/07/shoe-wearing-demonstration-960x517.jpg)
The current global shoe market is valued at $465.1 billion and is projected to grow to $688.4 billion within the next 10 years. This represents a huge market opportunity! To capture this market, you need to create high-quality shoes and shoot professional images that communicate their quality. Without compelling visuals, your online presence may struggle to attract and convert customers. We’ll take you through the essential steps of shooting and editing shoe photos that stand out. From setting up your photography space to editing images for clarity and appeal, we’ll cover everything you need to know to elevate your online shoe sales. Let’s dive into the essentials of creating professional shoe images that sell!
Why Do You Need Professional Photos for Your E-commerce Shoe Business?
In online shopping, shoppers can’t typically touch or try on your products. At that moment, professional visuals are more than important.
Professional photos are your primary tool to engage your customers. Here’s why you need to invest in high-quality professional photography.
1. First Impressions Are Everything:
Grainy, poorly lit images make your shoes look unappealing. They can turn customers away even before they read a single review. Professional shoe photography makes a strong first impression. It showcases your shoes in the best possible light.
2. Reduces Returns and Complaints
Clear, detailed images help to set higher expectations. When customers receive a product that looks exactly like what you shared online, they’re less likely to be disappointed. It reduces the chance of returning the item. It minimizes photo discrepancies.
3. Builds Trust and Credibility:
Customers always attract sharp, clear photos with top-notch standards. Customer attention is the real gold in this decade. To sell products and build a brand, you must attract customers and establish trust that your product is of high quality.
Step-by-Step Guide for Shoe Photography
Let’s be honest, it’s not easy to capture good images and edit them. But no worries, we will guide you through every step to teach you how to capture high-quality shoe images.
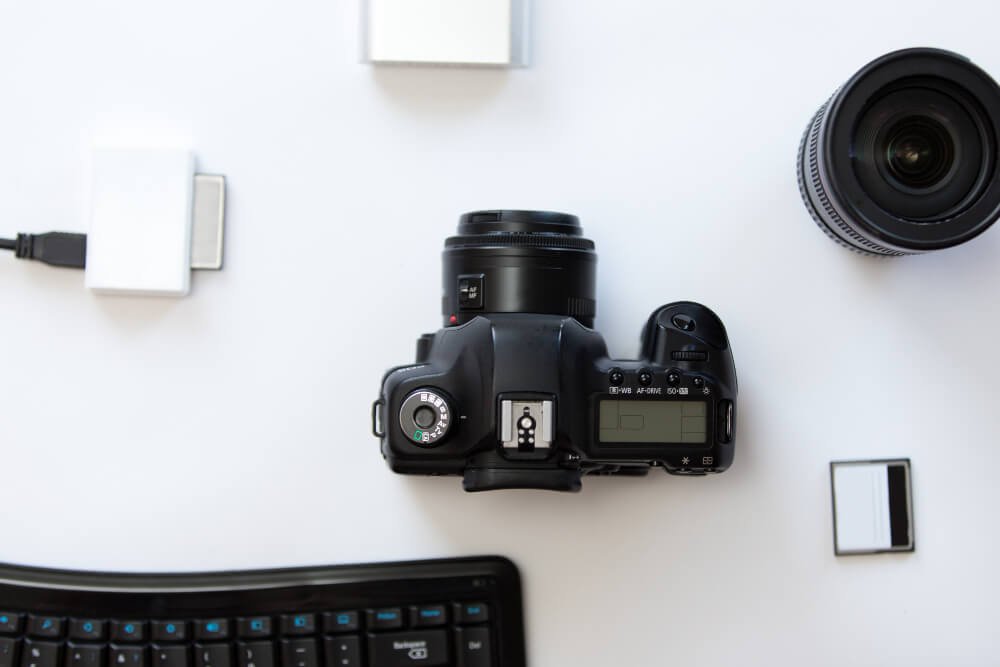
- Equipment and Tools for Shoe Photography
To achieve those eye catchy shoe shots, you’ll need the right equipment and tools. Here’s a checklist you need to get started::
a. Camera:
- DSLR or Mirrorless Camera: It helps to get you the best quality images.
- Smartphone: A high-quality smartphone can also do the trick.
b. Tripod:
- Standard Tripod: Keeps your shots steady and consistent.
c. Lighting:
- Natural Light: Soft, diffused sunlight is great.
- Softbox: For consistent, even lighting.
- Ring Light: Adds a beautiful, focused light to your products (it’s optional).
- LED Panels: Adjustable lighting for various angles.
d. Reflectors:
- White Reflector: To bounce light and reduce shadows.
- Silver Reflector: For a brighter, cooler light.
- Gold Reflector: Adds a warm glow.
e. Backgrounds:
- White Background: For a clean, distraction-free look.
- Lightbox: An all-in-one lighting solution for product shots.
- Colored or Textured Backgrounds: It gives you a creative touch to your photography.
f. Props:
- Shoe Trees: To maintain the shape of the shoes.
- Shoe Strands or Holders: It helps to display your shoes at various angles.
- Decorative Elements: You can add fabric, leaves, or other decorative items to your Shoe Photography.
g. Cleaning Supplies:
- Soft cloths: For wiping down your shoes
- Brushes: To remove dirt from soles and crevices.
- Polish and Conditioners: To make the shoe shine.
h. Optional Extras:
- Remote Shutter Release: To avoid the Camera shake.
- Extra Batteries and Memory Cards: For uninterrupted shooting.
- Color Checker: To ensure accurate color representation.
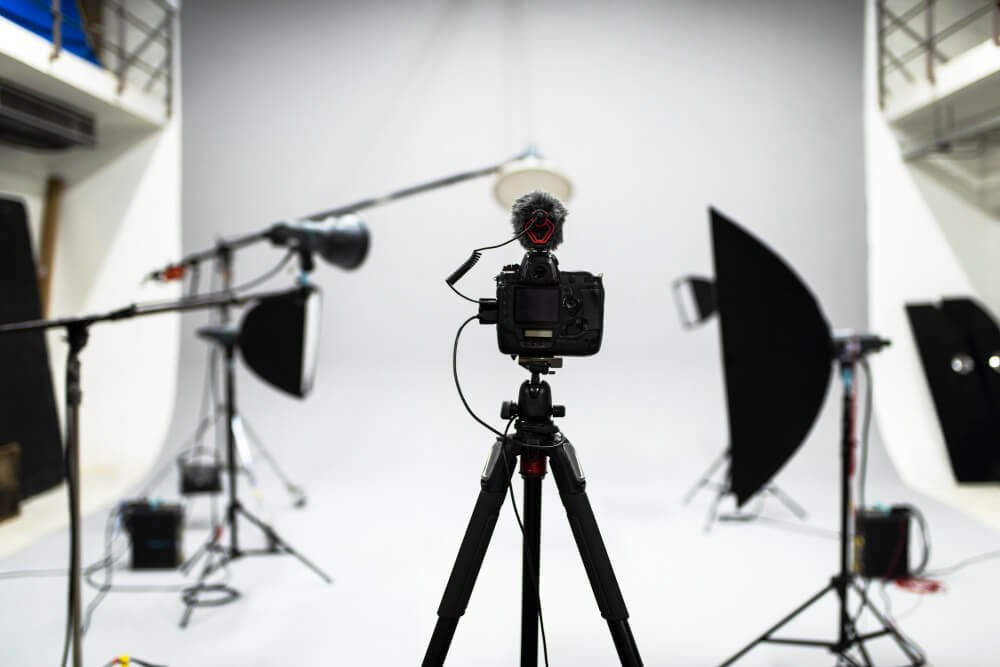
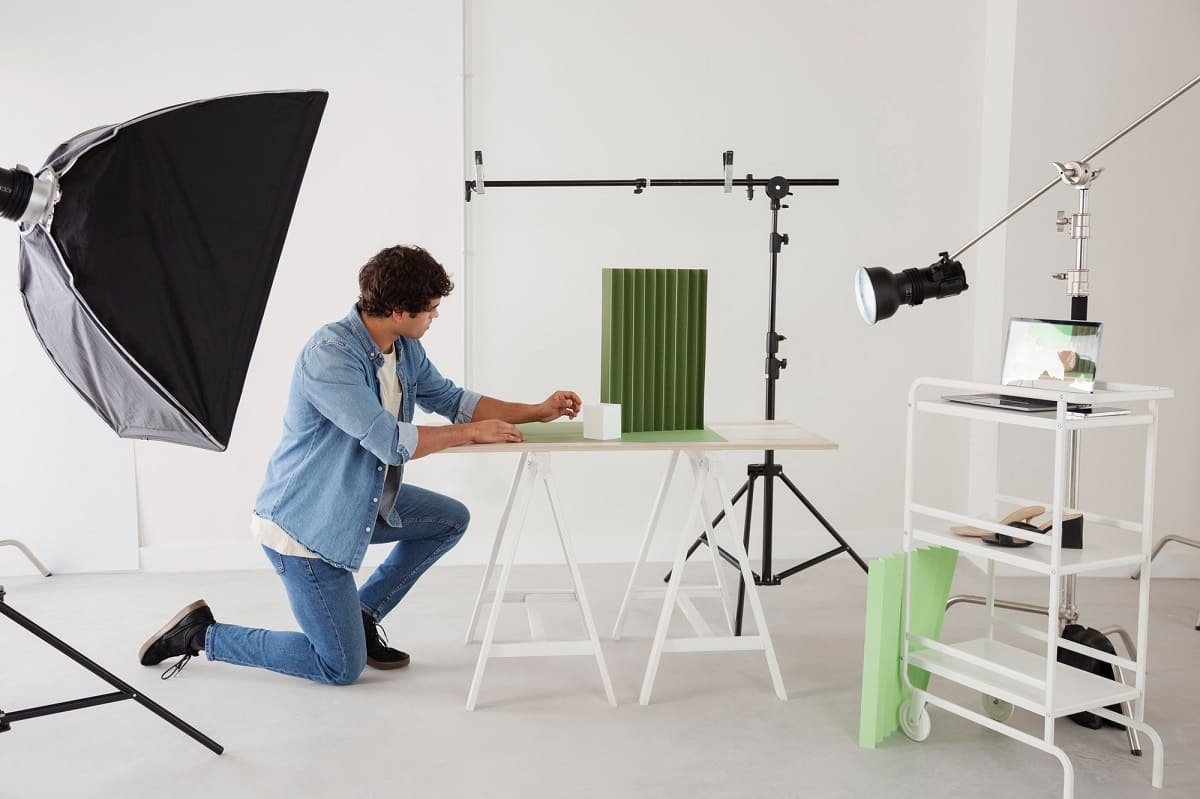
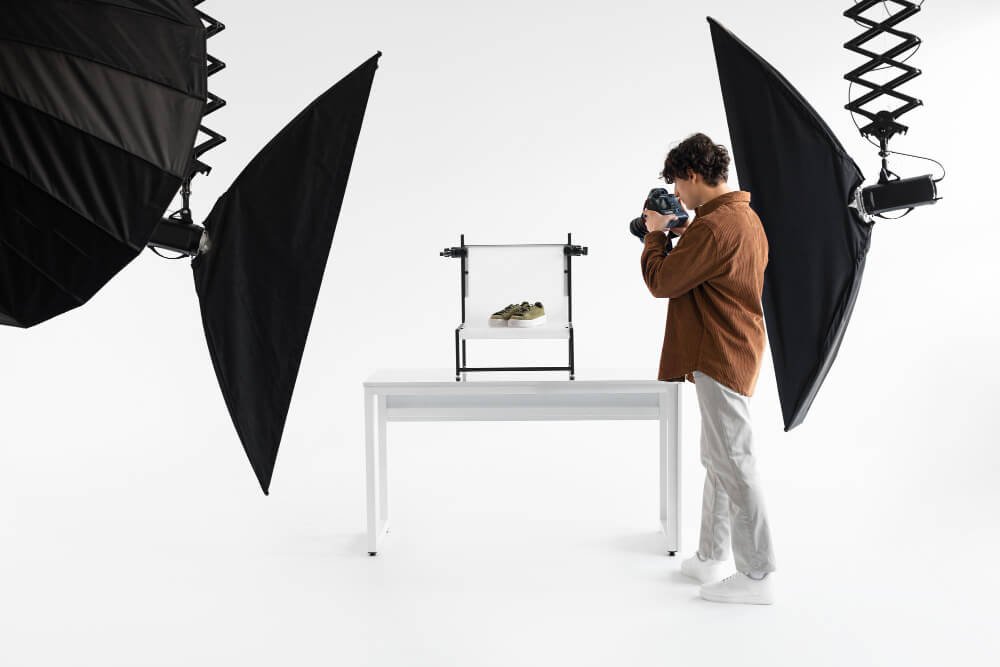
- Setting Up the Equipment to Take Professional Shoe Images
Keeping your product in the perfect location is important to get the picture-perfect result. Set up the photography location in a well-lit, wide space. Make sure you have enough space for all the gear.
Face the camera in front of the shoe. Use a white background or lightbox to create a clean, uncluttered backdrop for the photography.
Position the main light source at a 45-degree angle so you can highlight all the details. It also helps to create soft shadows for photography.
Place reflectors opposite the main light to reduce bounce light and harsh shadows. Optionally, you can add a fill light from the opposite side for balance.
Adjust your camera settings like ISO 100-200 for low noise, aperture f/8-f/11 for sharpness, and shutter speed based on your lighting.
You can experiment by positioning your shoe from different angles: front, side, top, or 45-degree views. This helps you capture product photos from all angles. Similarly, you can use props to create fun in the image.
Take test shots to adjust lighting and composition before systematically capturing from each angle.
- Composition and Styling Tips for Shoe Photography
Now that you’re all set with the lighting, it’s time to think about the composition and styling. Sometimes, blurry and soft focus can be aesthetic in photography. But when it comes to online shopping, it can be a bit of a nuisance for customers.
Show every detail of the shoe with full focus. You can use zoom views to show off all the sleek lines and killer curves of the shoe.
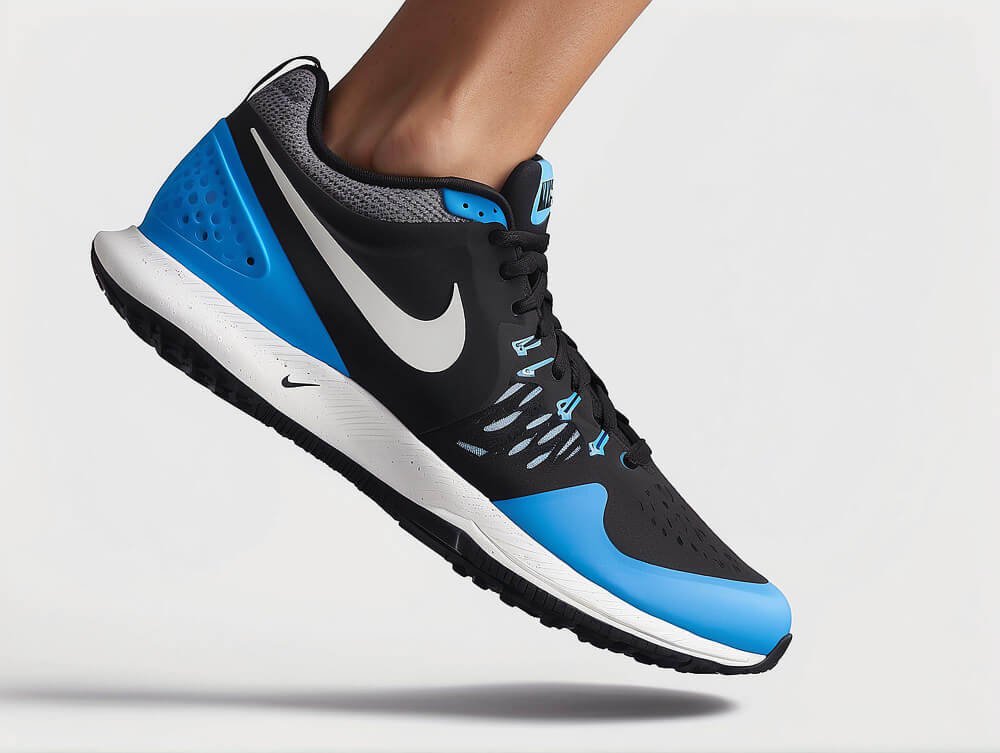
You can incorporate models. When a model wears and shows off the shoe, customers can relate more to that.
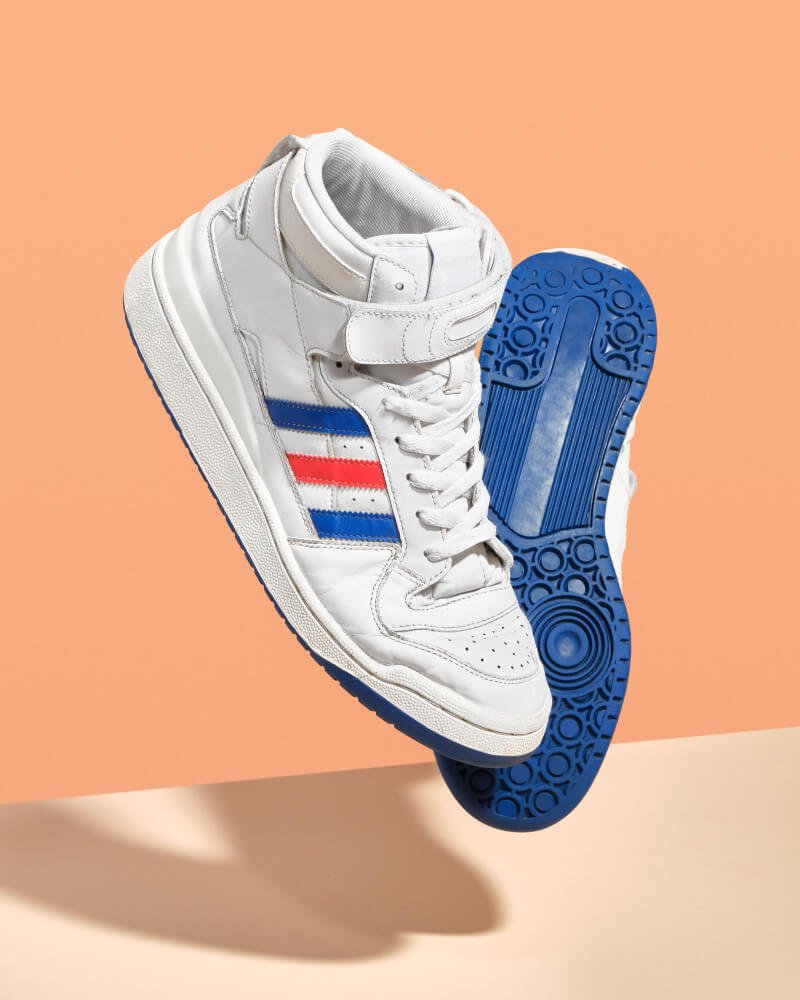
You can try out floating shoe shots here. Hang your shoes with a thread and then take the picture. It gives a great view of the products.
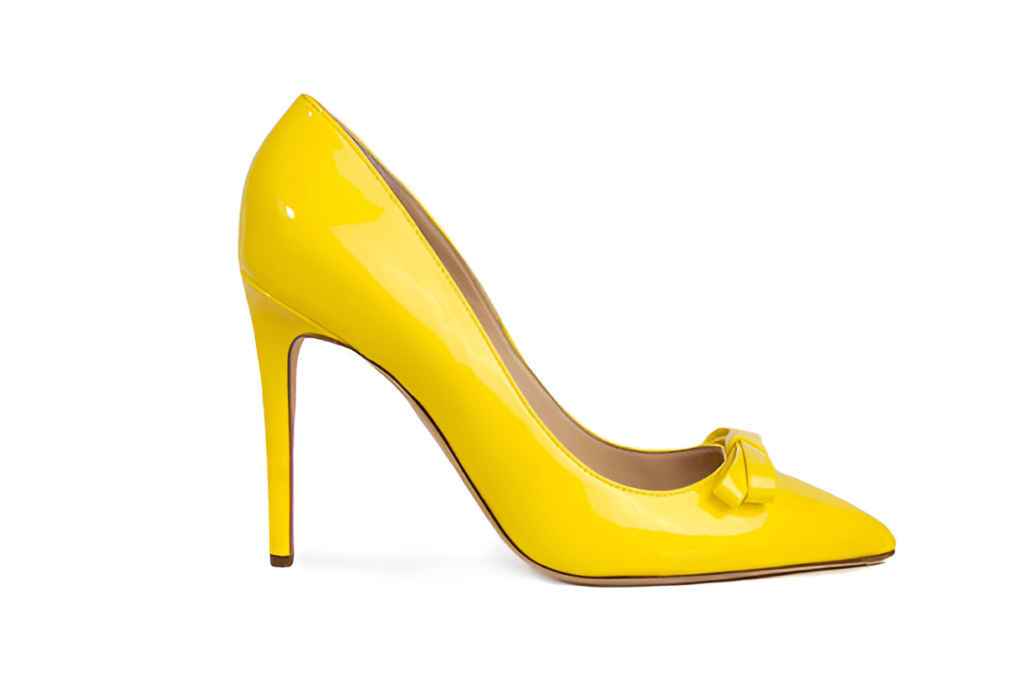
- Choosing the Right Background for Shoe Photography
A cluttered background is always a big no. It distracts your customers. In photography, rules hold true – keep it clean and clutter-free.
To keep the focus on the footwear, choose a background that won’t steal the show. A white or solid color backdrop is what you should go for. It allows a professional look and makes your shoe stand out clearly.
If needed, opt for subtle props or scenery. They can enhance the overall shoot without overwhelming it.
Trim and tidy up the scene to improve the composition of the focal point. In our case, that is the shoe!!
- Tips for Capturing Different Angles and Details of Shoes
Start with the front views to showcase the top-to-heel of your shoes. Go for side views and top angles to reveal every side of the shoe.
Don’t forget the close-ups and zoom in on those intricate details and logos, to give the audience an up-close experience..
- Editing and Post-Processing Techniques for Shoe Photography
It’s time to sprinkle the editing magic onto your shoe photographs that you’ve done so far. The following software will help you get started with editing:
- Adobe Photoshop: For advanced editing.
- Lightroom: For quick adjustments and batch processing.
- GIMP: A free alternative for photo editing.
Use these tools to fine-tune brightness, contrast, and colors. Don’t forget retouching to smooth out imperfections. You can even experiment with filters and effects to give your photos an extra wow factor. But just remember, moderation is key!!
7. Image Optimization Tips for E-commerce Store
If you add the edited raw image to your store, it may take time to load on your web browser. If a web page takes more than 2 seconds to load, customers are likely to leave. That’s why it’s crucial to optimize the images for faster loading on web browsers. You can resize the image to 1000 pixels while maintaining the aspect ratio. Format the image as JPG, PNG, or WebP, with WebP being the most optimized. You can use tinypng.com to further optimize your images.
Name your image based on its contents. Don’t forget the Alt-text for the image, such as ‘stylish red sneakers’ or ‘classic black boots’. This helps shoppers find specific shoes online
Conclusion:
Congratulations! Now you know most of the basics to capture shoe images, and you are among the top 5% of people who know more about shoe photography than anyone else. Try to reflect on the tips that you’ve learned so far and it’s time to master those tips. It takes practice. But we promise you, the end result is so worth it. Let your shoes do all the talking through your photography!